Solutions For Unsticking Your Newgy Robot
By Larry Thoman
This column will consist of questions that have been asked of the staff at Newgy or our replies to questions posed on the table tennis newsgroup, rec.sport.table-tennis.This month’s question was posted on the newsgroup under the title, “Newgy Robot Gets Stuck?” by Jake. We encourage readers to send in your own questions.. You may email us at [email protected] or fax or write us. All questions cannot be answered, but every month we will pick out one of them to answer in this column.
Question:
I just tested out the Newgy robot over at Attila Malek’s new training center. I noted that it gets stuck, every once in a while. This is the same problem that I had with the Sitco robot.
Any suggestions? The floors are a bit dusty.
Answer:
In my experience of servicing Newgy robots for over 10 years, the vast majority of problems with our robots are caused by dirt buildup inside the machines. Dirt normally enters the machine when balls roll on a dirty floor and then are thrown into the machine. As the balls are pushed through the robot, the dirt falls off and get wrapped around the ball feed gears and motor hubs or accumulate on the rubber Discharge Wheel and Friction Block.
The Discharge Wheel and Friction Block are very easy to keep clean. We recommend using our Rubber Drive Cleaner to clean these parts. If you have thin fingers, then you can usually clean these parts without disassembly. Simply wet a cloth with some cleaner, push it into the discharge hole with one finger and rub the cleaner on the rubber surfaces. For the wheel, it will also be necessary to insert a finger from your other hand to prevent the wheel from turning while you are cleaning it. If you have large or thick fingers, then you will need to disassemble the robot’s head to access these parts.
Particularly troublesome are carpet fibers, pet hairs, and other filamentous materials. This type of dirt can wrap itself around the hub of the Ball Feed and/or Ball Speed Motors and strangle the motor to death. This is often hard to spot and always requires disassembly. In 1999, we improved the Ball Feed Mechanism to prevent dirt from getting to the Ball Feed Gears and Ball Feed Motor that are located at the base of the robot body where it picks up balls from the trays. This new “Dust-Free” mechanism can be purchased separately for older Newgy robots that lack this improvement.
Another common problem is the use of new balls. New balls are coated with a gritty powder that is left on the balls during the manufacturing process. If new balls are placed in a Newgy Robot, they often times can cause a ball jam. The solution is to wash new balls in lukewarm soapy water and dry them off before placing them in the robot’s trays. Occasionally, even after washing and drying, new balls can still cause the robot to run erratically until their surface gets further worn down and “slicker”.
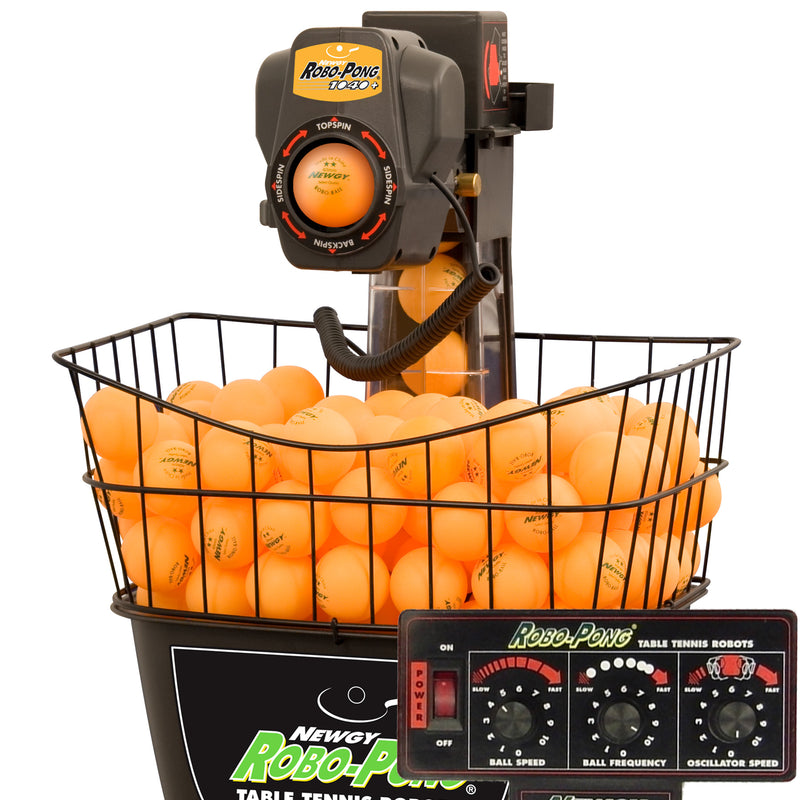
To speed up the process, run the balls through the machine at high speed by setting the ball frequency at 10, the ball speed to @2.5, the spin to “backspin”, and aiming the head at the middle of the table net. The balls will hit the net, rebound, and roll back into the robot’s ball trays (for robots with recycling net systems). For robots mounted in ball buckets, you will need to catch these balls by hand or in a tray or box and then return them to the ball bucket. This procedure will further “rub the balls down”. Continue this rub down procedure for at least 5 minutes, and then return to normal operation. Well worn, slick balls work best in our robots.
Another possibility is that some balls are badly out of round or too large. Robo-Pong robots with recycling nets include two go-no go gauges for testing balls. The gauges are located in the Ball Dams that are used to block off the ball trays during storage or repair. Each Ball Dam contains a hole that is exactly 38mm or 40mm in diameter, depending on the robot model.
To test the balls you are using in your robot, pass balls one at a time through this hole, rotating each one along several different axes. The rotation is necessary because lopsided balls may pass through along one axis, but not along another axis. If the ball passes through this hole, it should be OK to be used in the robot. If a ball hangs up in the hole at any time during this test, do not use that ball in the robot.
If the above suggestions don’t solve the problem, go tohttp://www.newgy.com/Support/Troubleshooting.html. I recently updated this list and it will help you to narrow down the potential solutions. Keep your robot clean and you’ll get top performance from your Newgy for many, many years. To reduce the dirt entering the machine, it is highly recommended to keep your playing area clean and to block off dusty areas into which balls can roll. Periodically cleaning the balls you use in the robot will further help. And ALWAYS wash new balls before using them in the machine.